Reading blogs on my Kobo e-reader via Wallabag
I was a regular user of Pocket, a service that you can send links to and that downloads them so you can read them later, even offline. I also used their Kobo integration a lot, so I could read articles I found online on my e-reader. So when Mozilla announced they’re shutting down Pocket, I had to look for a replacement, which I found in Wallabag.
Wallabag is a FOSS tool that you can self-host, or you can use their instance for a small fee. I chose the latter, because I’m lazy, I like supporting small FOSS developers, and everything is hosted safely in Europe.
Kobo
Wallabag also has a Kobo integration. It’s not as seamless as Kobo’s native Pocket integration (yet 😉), but it works. In this post I want to explain how I set it up.
I found two ways to do it: Wallabako and KOReader. They both have downsides, some of which overlap. But I’ve tried both on my 5-year-old Kobo Clara HD, and can confirm that they both work.
Warning: for both options, you’ll have to use a file manager and a text editor and edit some configuration files.
Another warning: for both options, you’ll have to put your password in an unencrypted file on your e-reader, so make sure you don’t use the same password for other services or websites.
Before you start, you need to set up an API client in your Wallabag instance. You can find it in the “API clients management” section of the hamburger menu. Copy and paste the Client ID and Client secret into your favorite text editor so you can find them later. Also copy the location of your Wallabag instance while you’re there.
Wallabako
Wallabako is the more light-weight option of the two. You can install it by following the instructions on their GitLab page. Make sure you replace all the items in the example configuration file with your own values. Once you’re done, restart the e-reader.
Wallabako integrates with Kobo’s own UI. It can synchronize automatically and it creates a new e-book for every unread article in your Wallabag. When you finish reading an article, it will be marked as read in your Wallabag.
This is all very nice but there are two big downsides. First, your articles get mixed up with your “regular” e-books, and there’s no way to get a list of just your Wallabag articles or just your e-books.
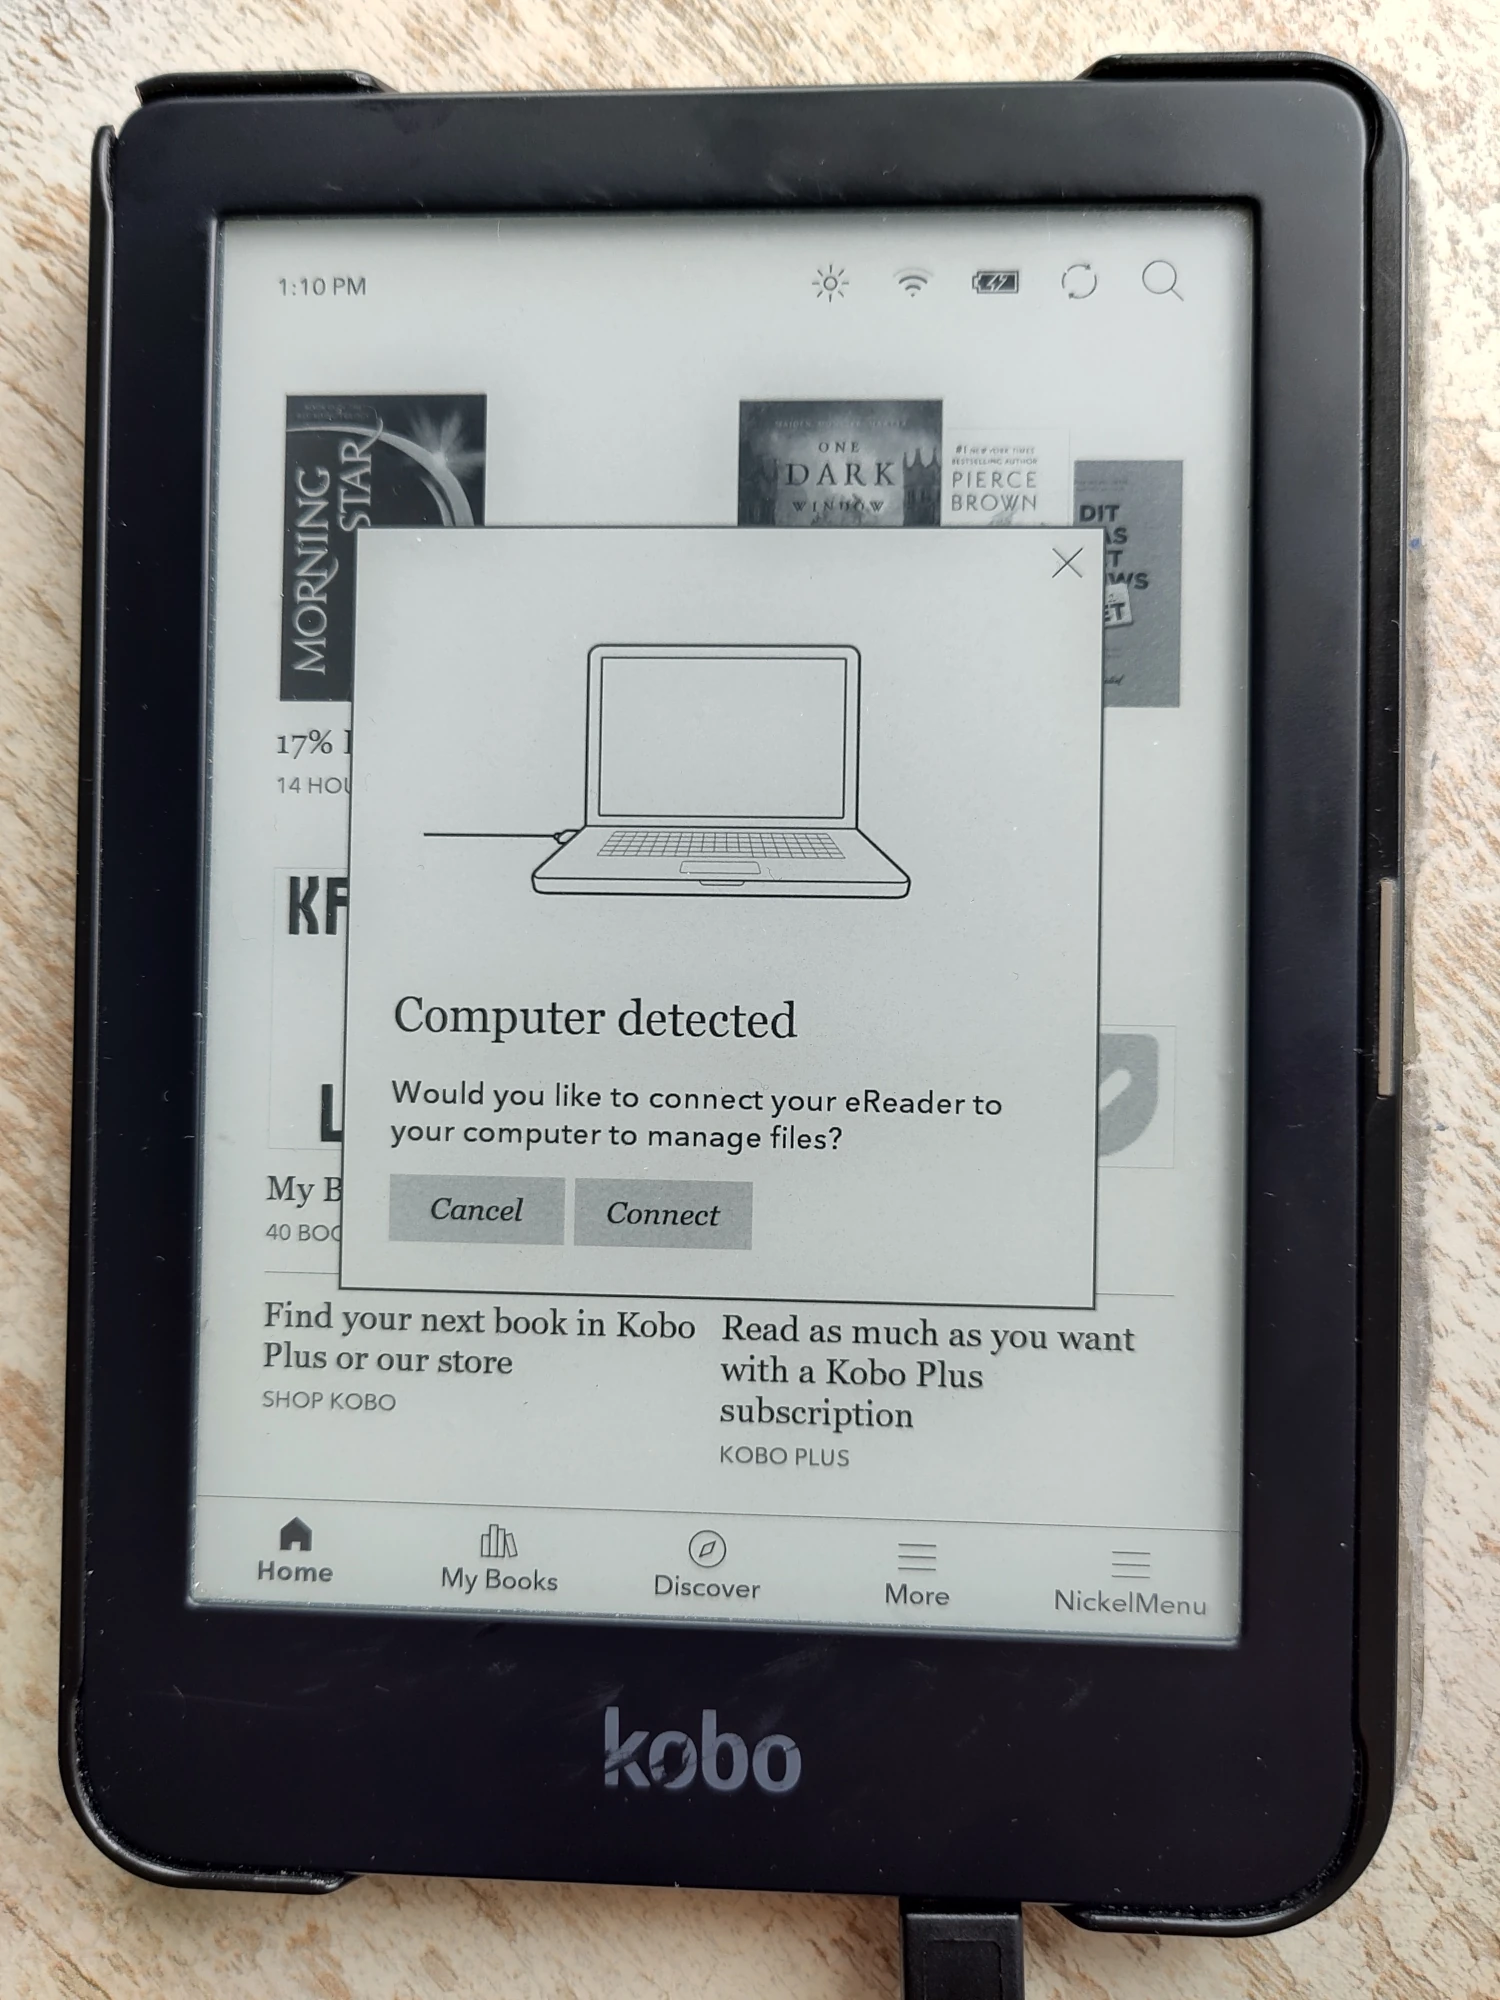
Second, the synchronization is clunky. When Wallabako wants to download new articles, you see the “Computer detected” screen that you also get when you connect your Kobo to a computer using usb. You have to press “Connect” manually or else the sync won’t happen. Also, when you finish an article, the e-book remains on your reader. If you’re a digital neat-freak like me, you’ll have to delete it manually. But make sure you have synchronized first, because when the e-book is gone, Wallabako can’t update the read status to your Wallabag.
It’s not always clear when synchronization happens, but you can add a launcher to your Kobo menu to force the sync. Look at the Launchers section of Wallabako’s wiki to find out how to set that up. Note that it requires installing another tool on your device.
If you prefer a smoother synchronization process and don’t mind tweaking configuration options, you might prefer KOReader.
KOReader
KOReader is the heavier option, but depending on how you use your e-reader, it could also be the nicer one. KOReader is a replacement for your Kobo’s entire interface, and it includes a Wallabag plugin by default that has none of the sync clunkiness of Wallabako.
KOReader is very configurable. You can tweak almost anything about its appearance, but you also kind of have to, because the defaults are not that great. There are many, many settings, and specific ones can be hard to find if you’re looking for them, so be prepared to spend some time exploring. KOReader does have a dark mode though, which is a nice bonus if you like that sort of thing.
The installation process is hard to find on KOReader’s website, and it’s pretty complicated. You can find it here, on their wiki. They describe a semi-automatic process that involves downloading binaries and a script from a forum post. That feels both dangerous and unprofessional, but it is the easiest way, unfortunately.
Once installed, you can run it from a menu. When it’s started, you can find Wallabag somewhere in the menus. There’s an option to configure the Wallabag server. If you press it, it opens a dialog box where you can type in your connection details. You don’t want to type that stuff with Kobo’s clumsy on-screen keyboard. Fortunately, if you keep the fields empty and press OK in this dialog, it creates an empty config file on your Kobo. So, connect it to a laptop via USB, open the file in .adds/koreader/settings/wallabag.lua, and fill in the details there (note the . before adds!). More information on configuring Wallabag can be found on the KOReader wiki.
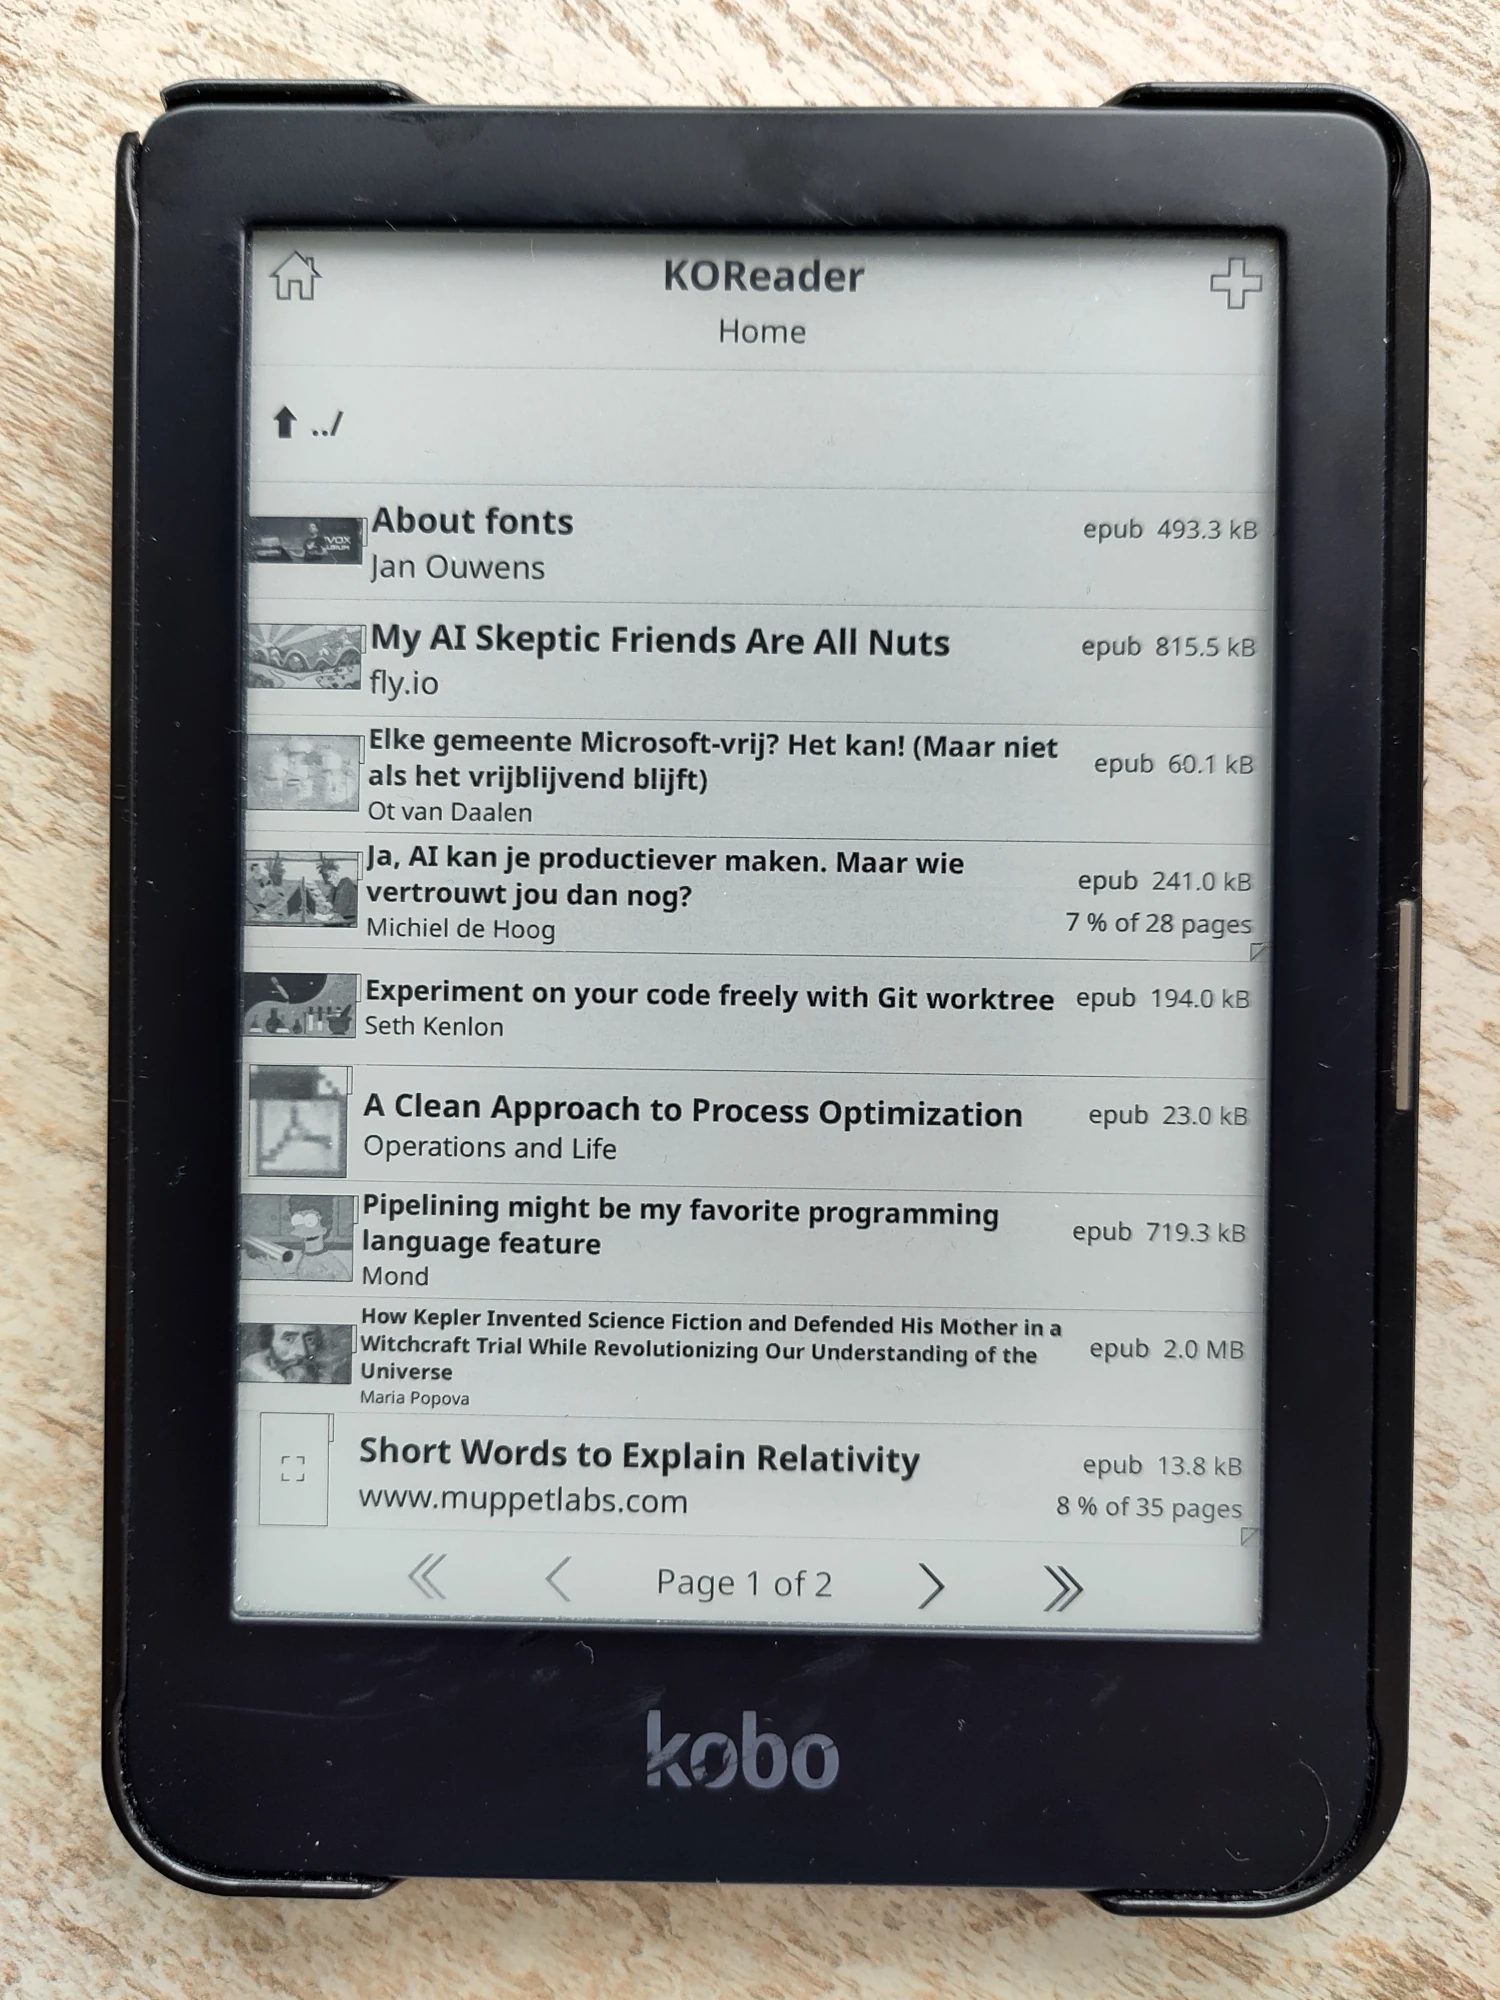
Now, when you synchronize with Wallabag, you will get a separate epub file for each article. They will be in a separate folder (wallabag by default), so it’s easy to separate them from your regular e-books.
Like Wallabako, KOReader has some serious downsides. First is the fact that configuring it takes a lot of time and effort. Though for some, this might actually be enjoyable.
Second is the fact that KOReader can’t read DRM-protected e-books. So if you have your Kobo linked to an online vendor (like I have with bol.com in the Netherlands), you won’t be able to use it to read the books you buy there, and you’ll have to return to Kobo’s regular UI for them.
Separating Wallabag from your e-books with KOReader
Because KOReader doesn’t show DRM-protected books, I have decided to use Kobo’s regular UI to read e-books, and KOReader to read Wallabag articles. In order to make this seamless, you have to configure some things.
By default, in Kobo’s regular UI, Wallabag article epubs once again mix with regular e-books, just like with Wallabako. To avoid this, I once again connected my Kobo to my laptop with USB and created a .wallabag folder. Note the . in front of the name! This makes sure it’s a hidden folder. Now, in KOReader’s “🗄 → Settings”, enable “Show hidden files”. The new .wallabag folder should now appear. In KOReader’s Wallabag settings, you can now select this as your “Download folder”. Wallabag articles now get downloaded into this folder, and Kobo’s regular UI won’t see them.
Now, go to KOReader’s “🗄 → Settings → Home folder settings”, and select .wallabag as your home folder. Now, every time you open KOReader, you’ll automatically be directed to your Wallabag articles. When you exit KOReader, you’re back in Kobo’s regular UI and you’ll see only your e-books again.
If you want, you can now disable “Show hidden files” again. If you had downloaded articles in a different directory than the .wallabag directory we just created, now is also a good time to connect the USB again and remove the old directory and the articles downloaded there.
I have also enabled the “Remote mark-as-read settings → Auto-upload article statuses when downloading” setting. With this setting enabled, it will update your read status when you download new articles. Otherwise, this would be two separate synchronization operations, which is extra work and I’m lazy.
Conclusion
I’m happy I got this working, and I can now read articles on my Kobo again. However, neither of the proposed solutions is without problems. Kobo’s native Pocket integration was much, much easier to use. Hopefully, Kobo will realize this and replace their (now useless) Pocket app with a Wallabag client.
Bonus round: fonts!
I’ve talked about fonts on this blog before, and I thought it might be nice to share how I installed my preferred fonts on my Kobo device. It doesn’t have anything to do with Wallabag, but it makes reading on my Kobo so much nicer 😄. And if you’ve successfully installed Wallabag (through either method) on your e-reader, this is now simple.
Make sure you have your favorite font stored on your hard disk somewhere. You’ll need to have it in either .ttf or .otf format. A .woff file is not going to work.
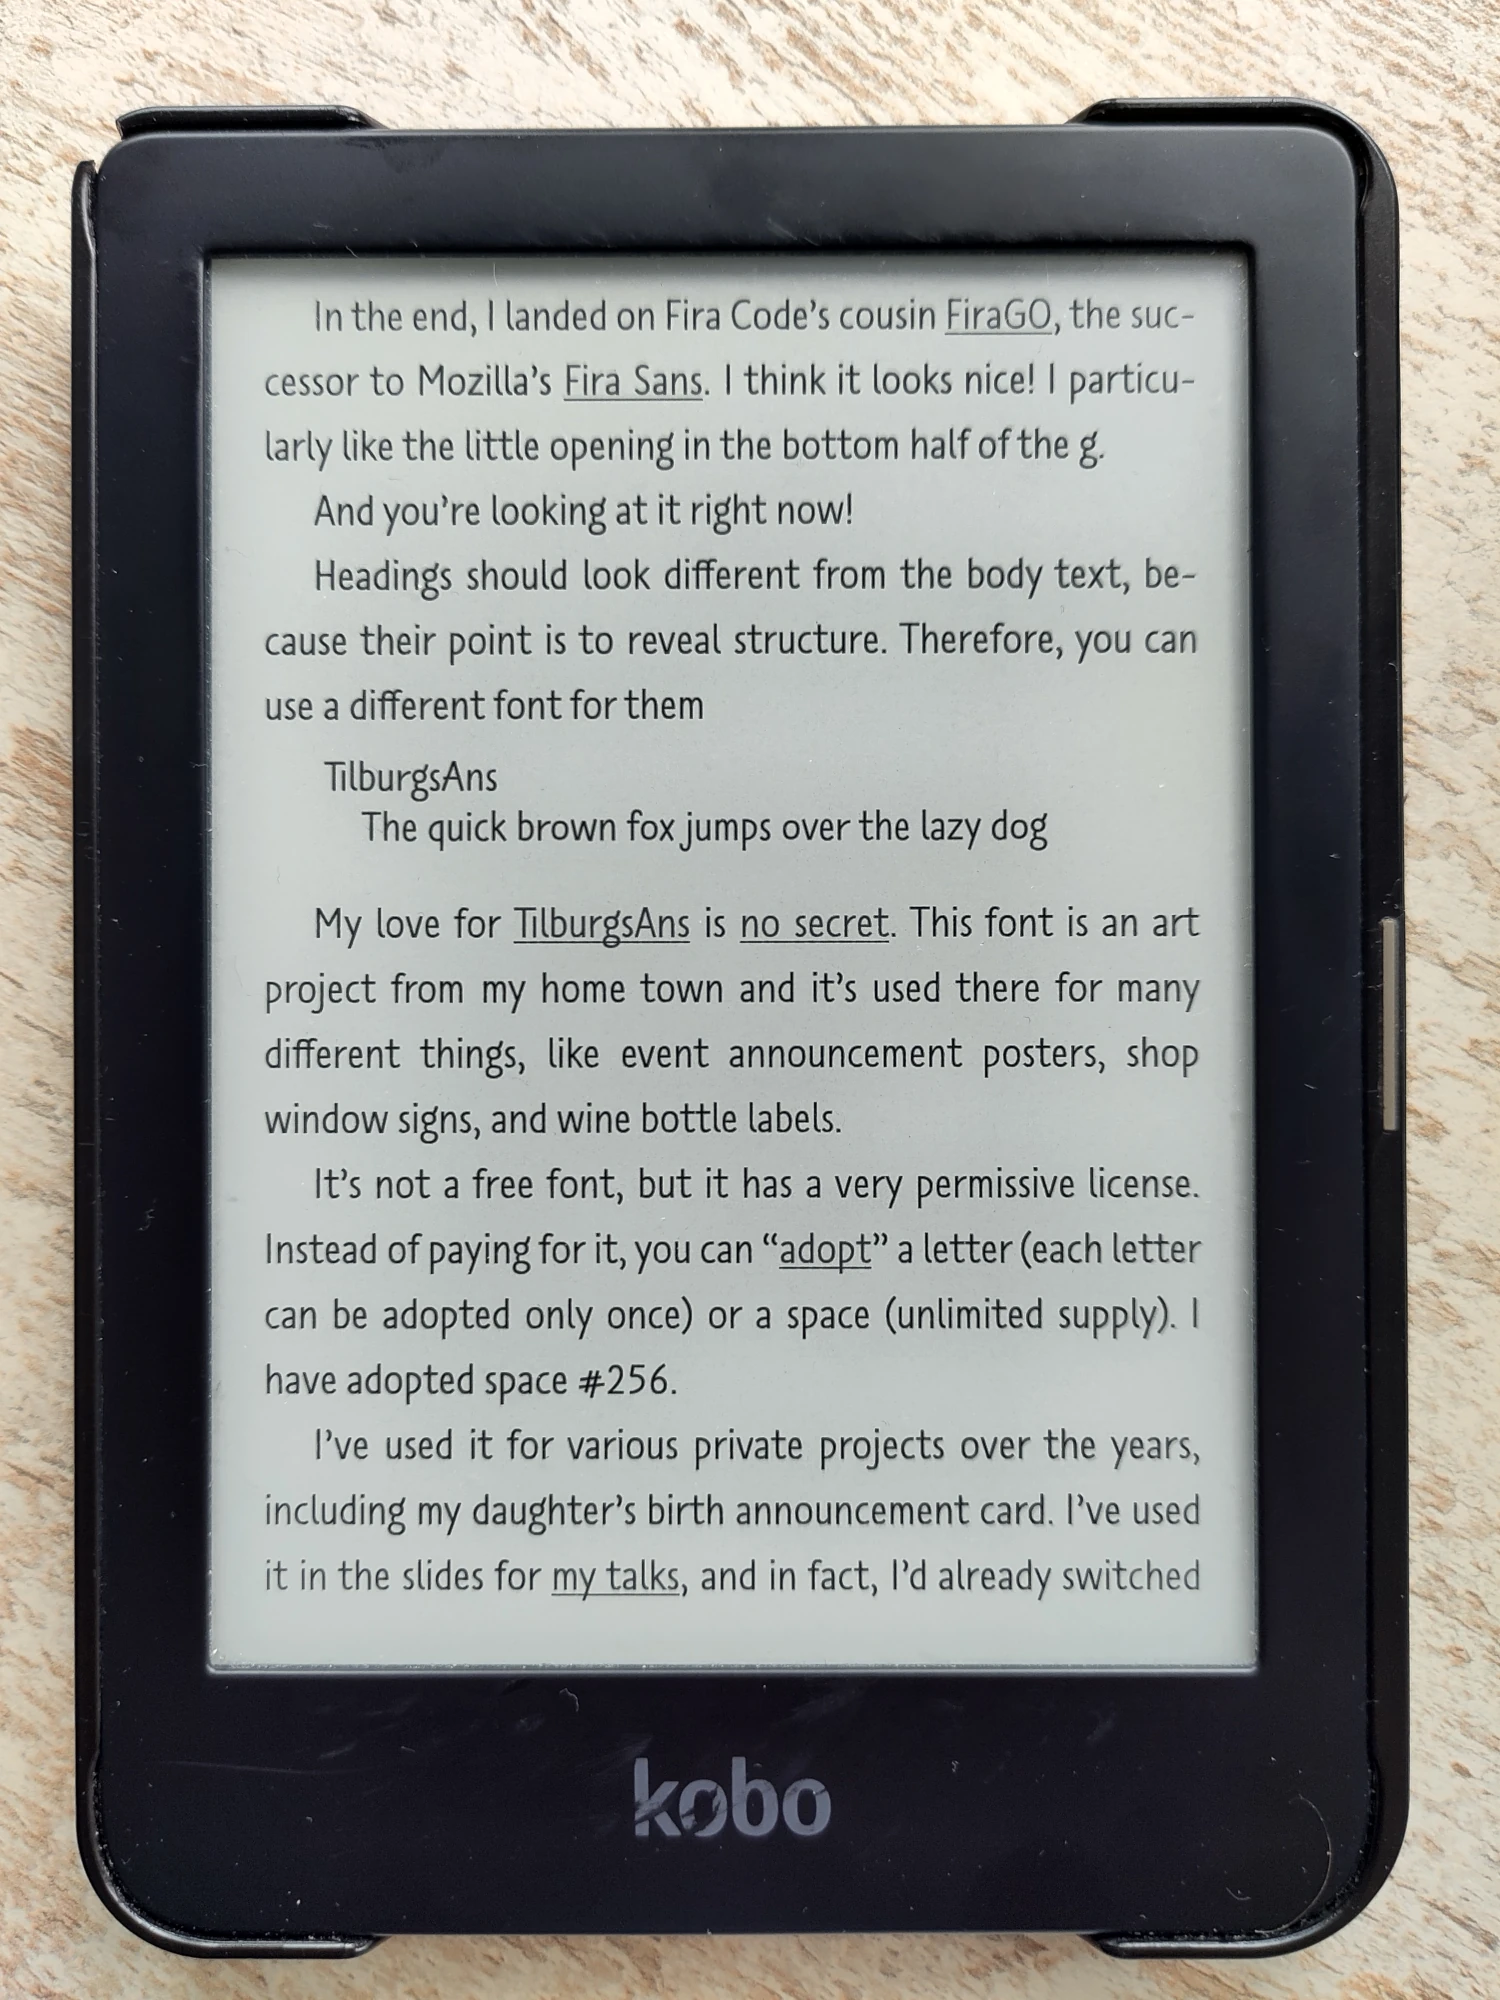
Connect your Kobo with your laptop via USB. Create a folder called fonts, and place your font file(s) in there. This makes them available to the regular Kobo UI. Open a book, find the font settings, and your fonts should be available in the Font Face box.
If you went with the KOReader option, find the .adds/koreader/fonts directory, and copy the files into that folder too. Now they’re available in KOReader. Open a Wallabag article, open the menu, and find the “Font” setting. Note that changing this setting only applies the font to the current epub file. If you want it to become the default font (and I don’t see why you wouldn’t want that), you have to long-press on the font, and then a menu will pop up that will allow you to make it the default for all epub files.